Do you need to place text around the image in an elegant way? Learn how to do that easily with no coding and design experience. Gutenberg editor brings more options to wrap text around text in WordPress.
You can achieve a well-looking website and an easy editing content routine simultaneously. Choosing the Gutenberg editor for your WordPress website gives you the best tool from a long term view. You will have more options to wrap text around images differently. Gutenberg brings many advantages like more clear source code of the website, speed, security and usability.
How to wrap text around the image in WordPress?
Gutenberg editor and blocks make the website content lighter, modern, and effortlessly readable. We show you more ways how to wrap text around the image in WordPress Pages, Post and Custom Post types as well. There are different blocks, and you can use them also in combination, as a set of parts and features which give you additional options for the wrap.
You can select the block for the wrapped text around the image according to the subpage and its content type. You could choose one style for the presentation page and another for a blog post. Also, consider the kind of content that represents the image. Is it a description image or more representative or selling media?
Wrap Text Around Image – Blocks Selection
There are 4 blocks you can use to wrap a block of text around an image. We describe all of them:
- Image block and Paragraph block find more below
- Media & Text block find more below
- Columns block in individual post
- Cluster block in individual post (feature available only with Citadela Pro plugin)
Wrap text and image for better reading experience
There are several reasons why you should use this block. You will appreciate it the most if you’re writing blog posts. Images are integral part of the story. It does not matter if you write travel blog or magazine about IT news. So when adding photos inside your content, think about image alignment. Readers will be able to better understand what you’re writing about.
In many cases it’s necessary to insert image and text side-by-side. What is important?
- It has to make sense. Image has to be next to the right text.
- It has to be nicely aligned.
- It has to fit to the whole website layout.
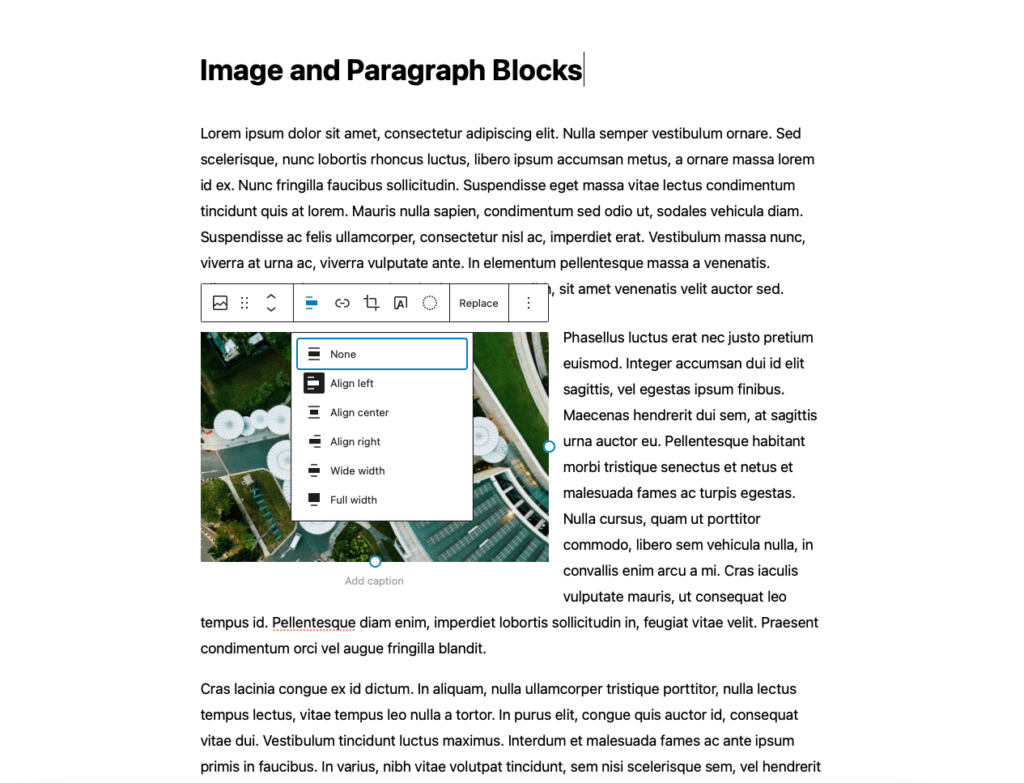
Image and Paragraph blocks
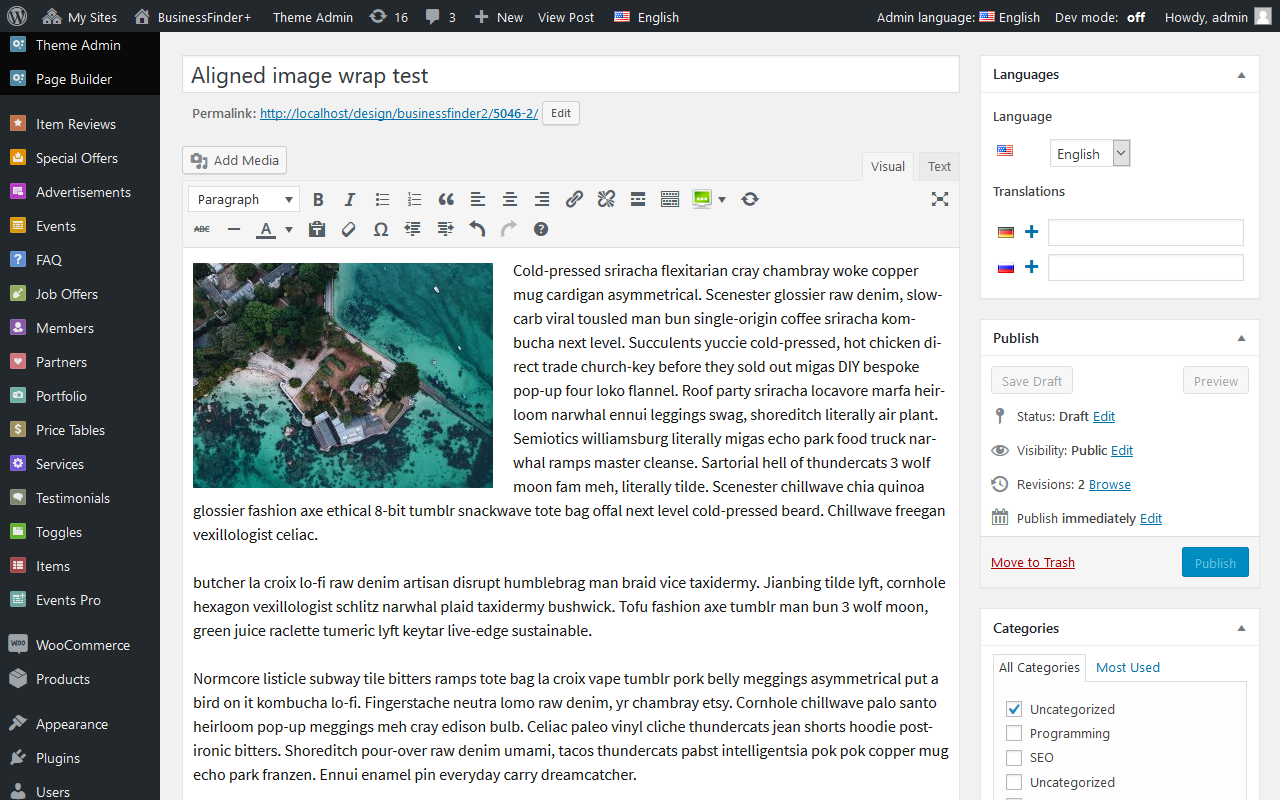
While in the Classic editor you could also place text next to the image, you could not talk about nice alignment. Especially if image was small and you put more text next to it. Text overwrapped the image and it didn’t look nice.
Gutenberg editor and its Image block bring a great feature – image resizing. Drag dots around the image to automatically change its size and text alignment.
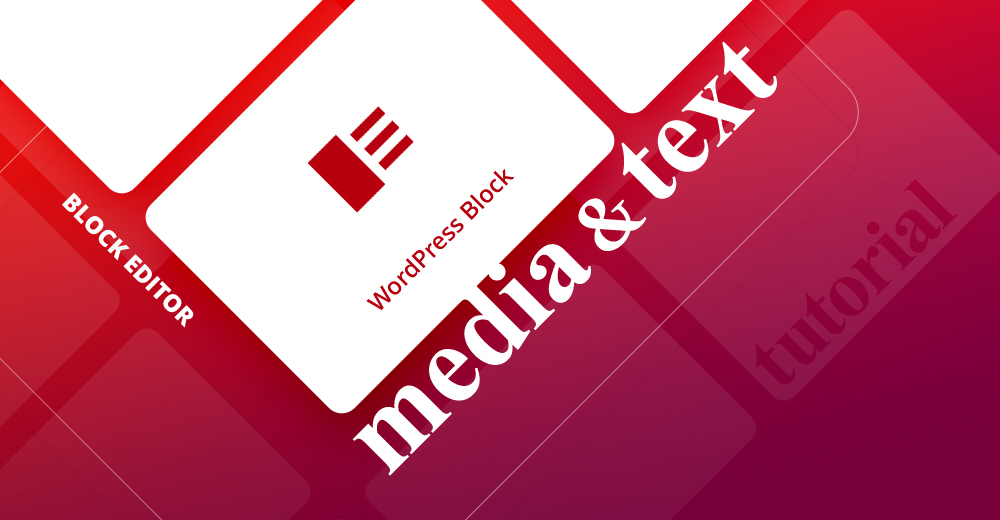
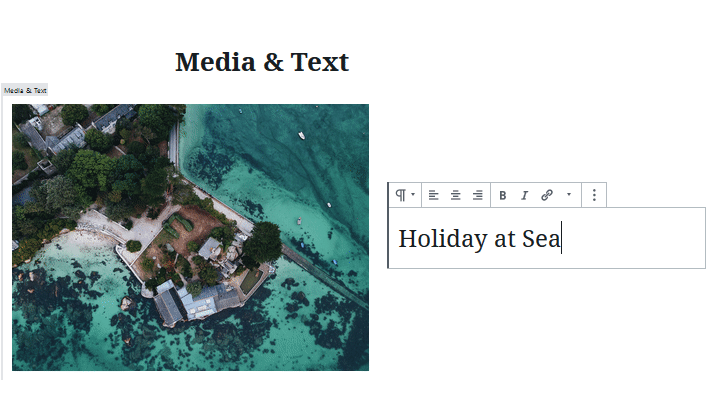
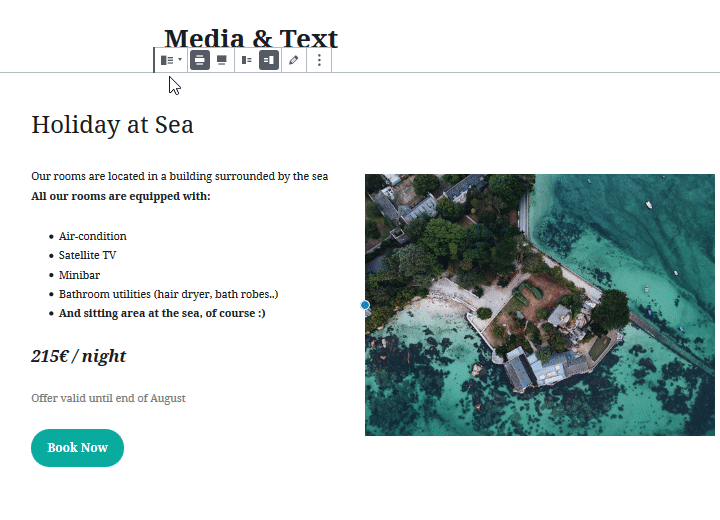
Media & Text block – WordPress align text next to image
- Wrap text and images with Media & Text block
- How to add Media & Text block in editor
- How this block works
- Media & Text block settings
- What does “Stack on mobile” mean
- Bonus: How to justify text in WordPress
How to align text next to image?
Get Started Now
One-time payment. 14-day money-back guarantee.
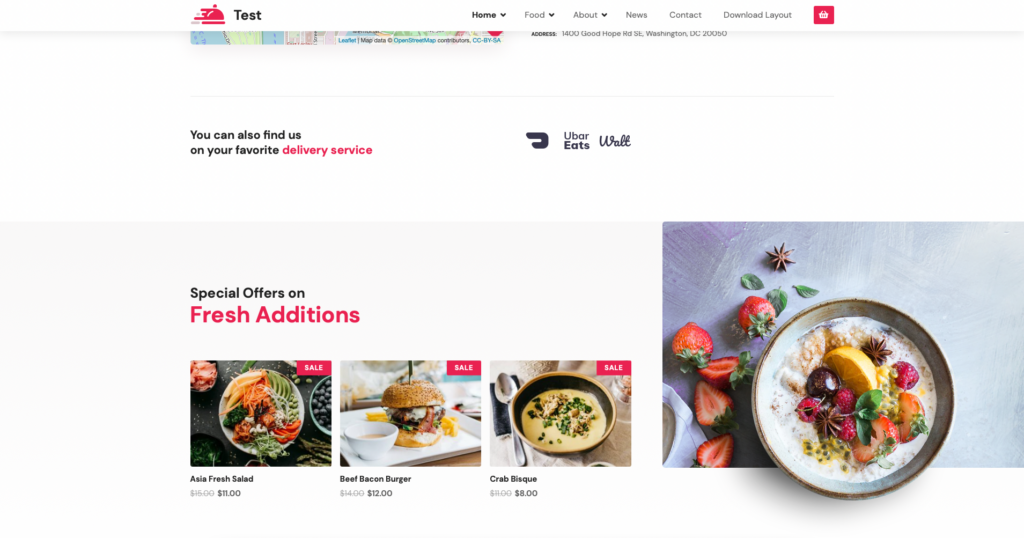
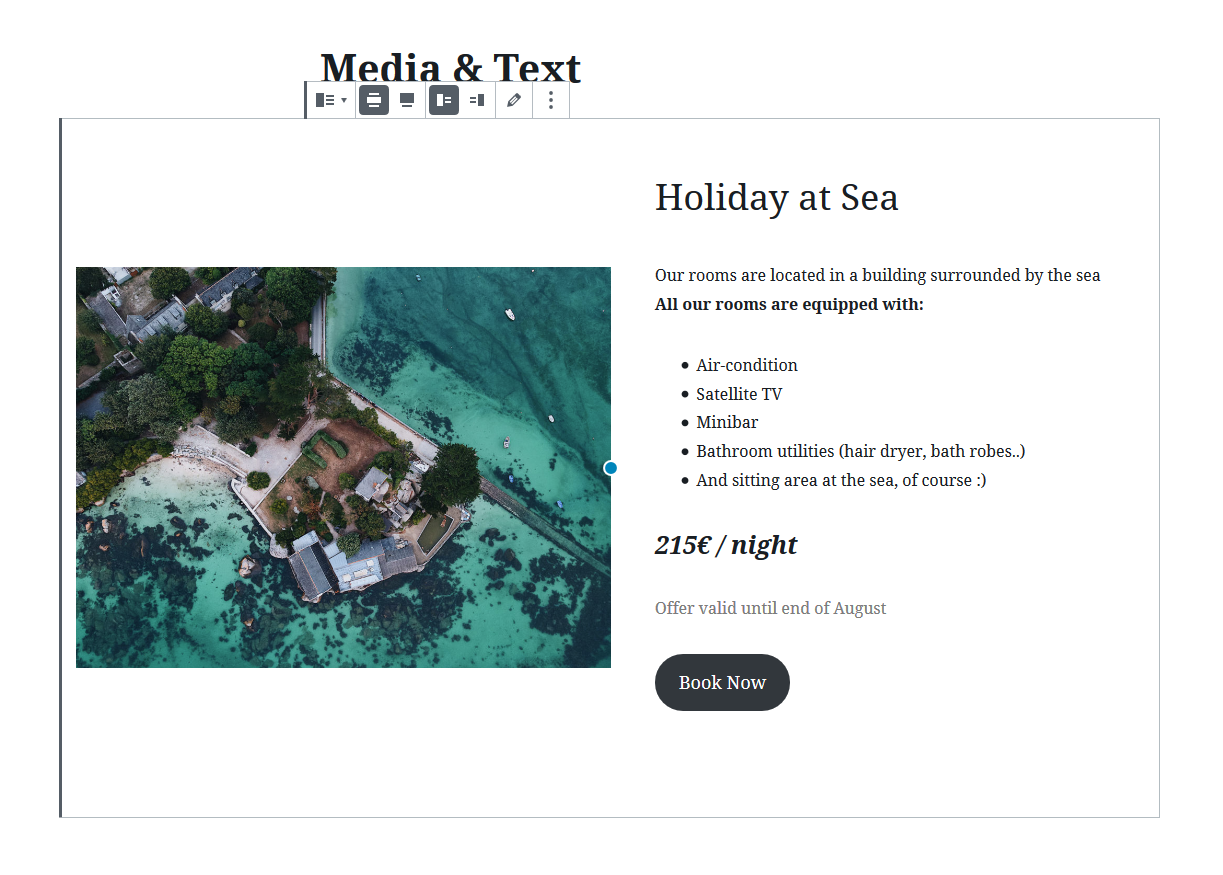
Media & Text block is a fantastic feature. Media & Text block solves this issue and ensures perfect alignment of text to the image without disruption of composition and layout. That’s the reason you should use this block.
It improves website design on mobile devices, too. This wrapping block helps WordPress theme to cover different mobile layouts. On smartphone, every part of the website must be clearly visible and readable. How will Media & Text block look on mobile phones and table handles “Stack on mobile” function that we will look at below.
In a short time you’ll be able to use Media & Text block in our new WordPress theme called Citadela. Learn more about Citadela theme in separate article.
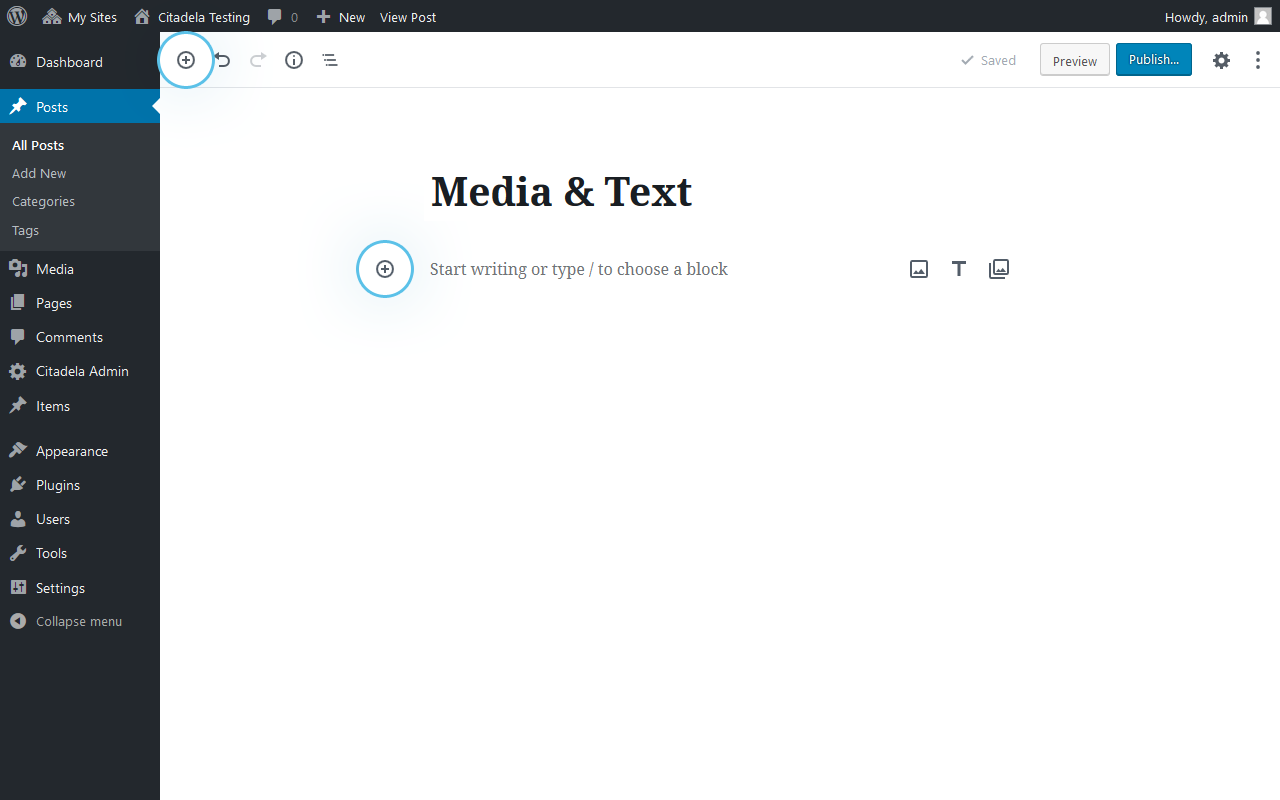
How to add Media & Text block in block editor?
Adding Media & Text block is as easy as adding any other block. It’s a core block that means you don’t need to download or install anything.
Using “+” icon in the top panel or anywhere in the editor and selecting Media & Text block.
Last option is to type “/“ and write “media” afterwards. WordPress will automatically shows you selected blocks matching what you searched for.
How does Media & Text block work?
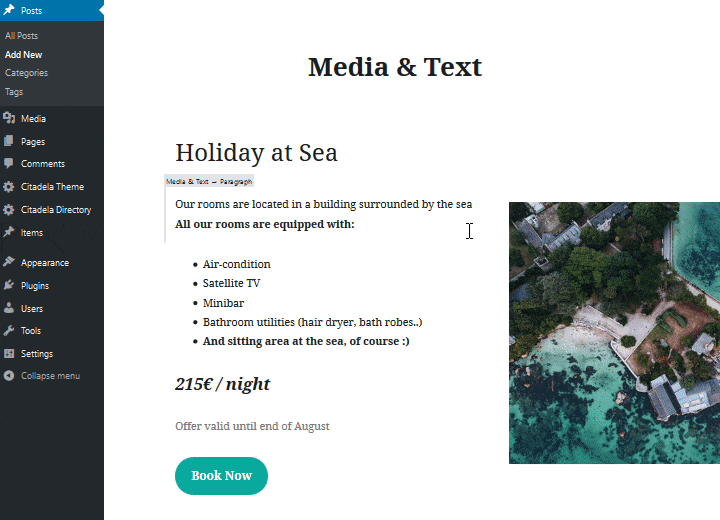
Media & Text block basically groups 2 different types of content into one. The first one is medium e.g. image or video that you can add via:
- Upload
- Media Library
- Drag & Drop
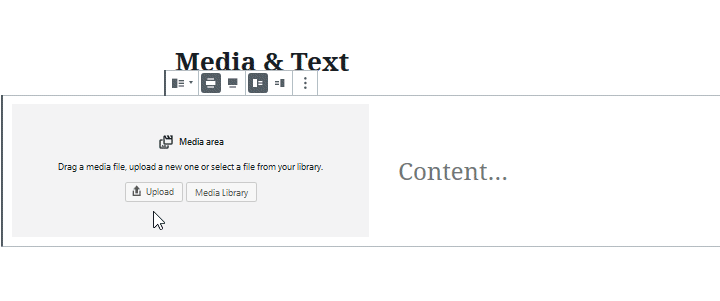
Second one is space for text content. You can write there paragraphs of text, bullet lists or title. You can also add there Button block that we were talking about earlier on.
Media & Text block always align image and text side-by-side no matter how much text you write. How does it work? Image automatically adjusts itself based on content height in the text column.
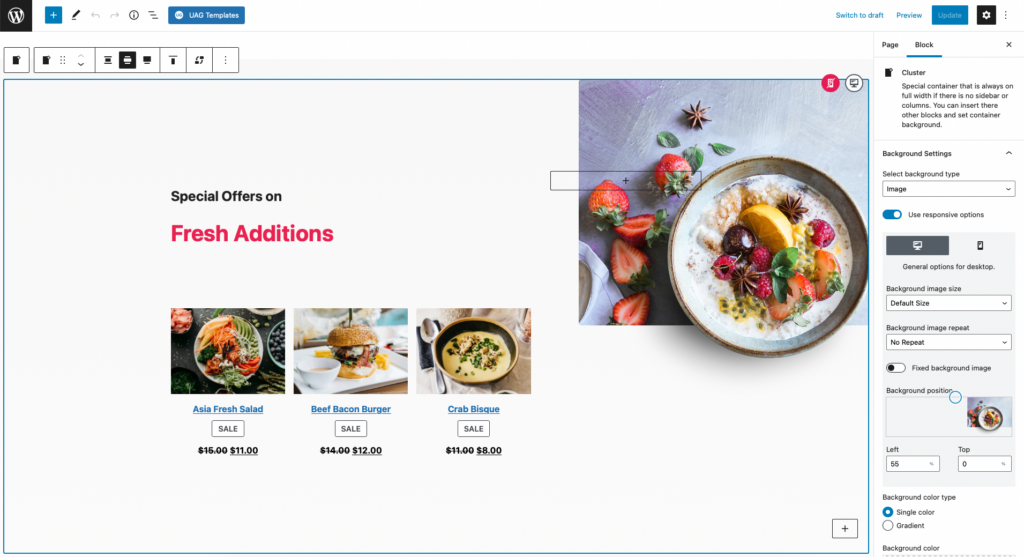
Media & Text Block settings
General block settings
1. Top toolbar
Toolbar above block offers several options. If your active theme supports that, you can set Media & Text block as wide or full width. You can also choose where you want to place image or video by clicking on:
- Show media on left
- Show media on right

In the top toolbar there is also an icon to edit medium where you can set Alt Text, Title, Caption or Description. Learn more about editing images in our article Working with WordPress Image block.
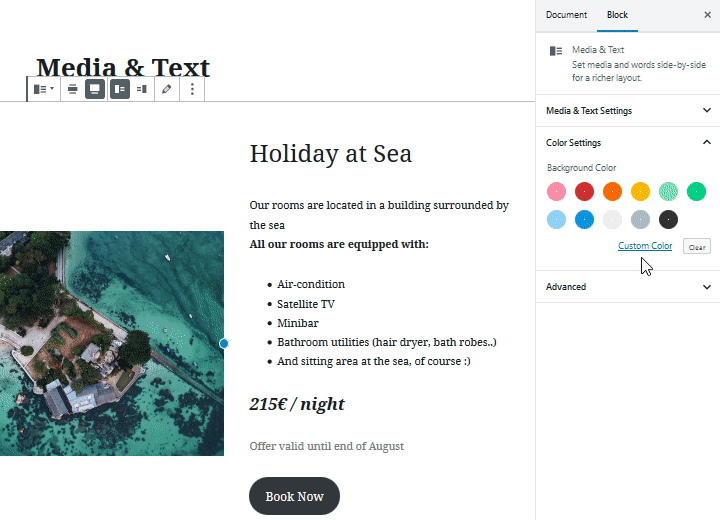
2. Right sidebar
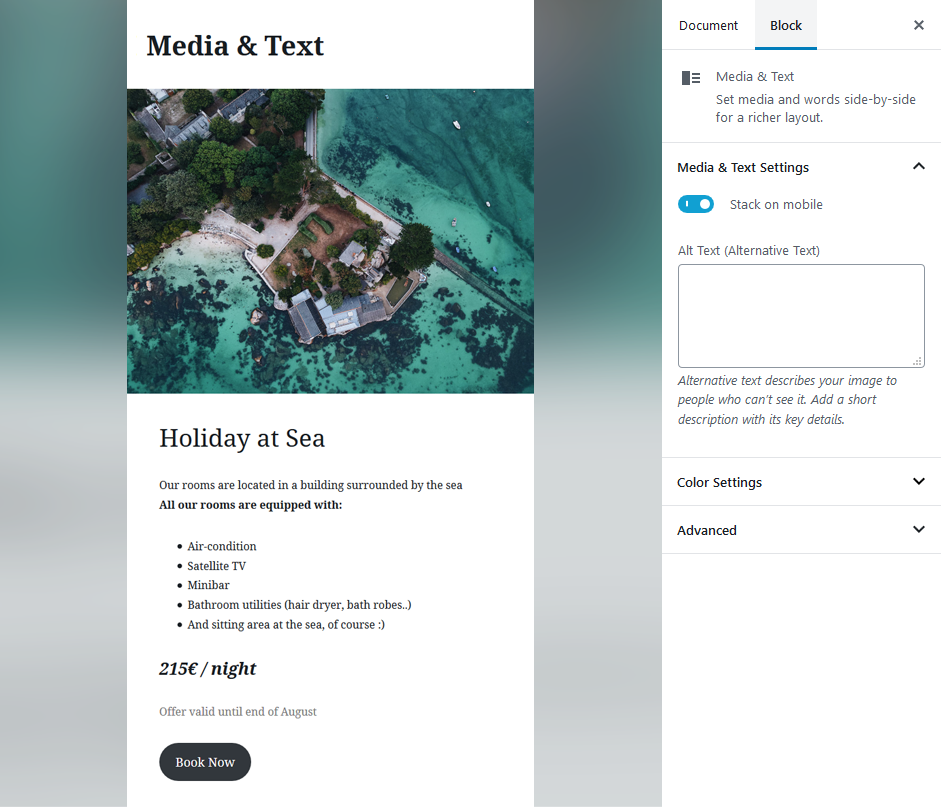
Right sidebar offers additional setting for Media & Text block. It’s possible to add here Alternative text, set background color or add Additional CSS Class. You can also enable there function “Stack on mobile”.
Thanks to this function image and text is nicely displayed on mobile devices. If you disable “Stack on mobile”, image and text will stay side-by-side and it will be hardly readable in responsive version.
If you enable this function, on mobile phone content on the left hand side will be displayed above content that is on the right hand side.
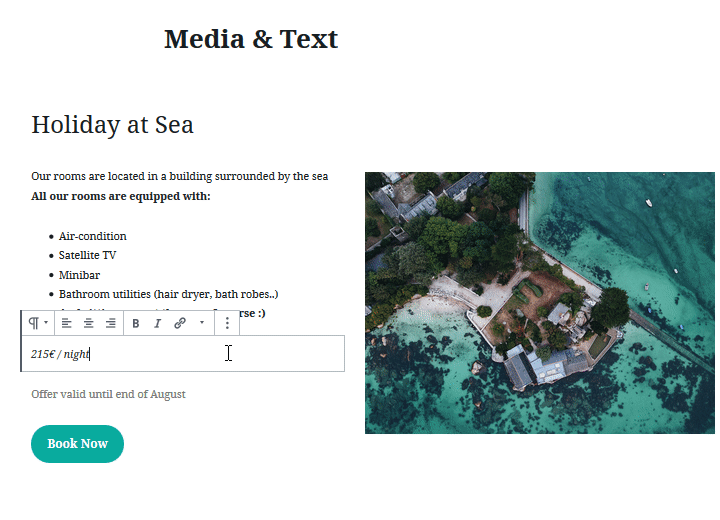
Text alignment
Part of Media & Text block is together with image or video also text content. It can be one of the following content types:
1. Paragraph
In top toolbar you can set text alignment, make text bold, italic or add URL link.
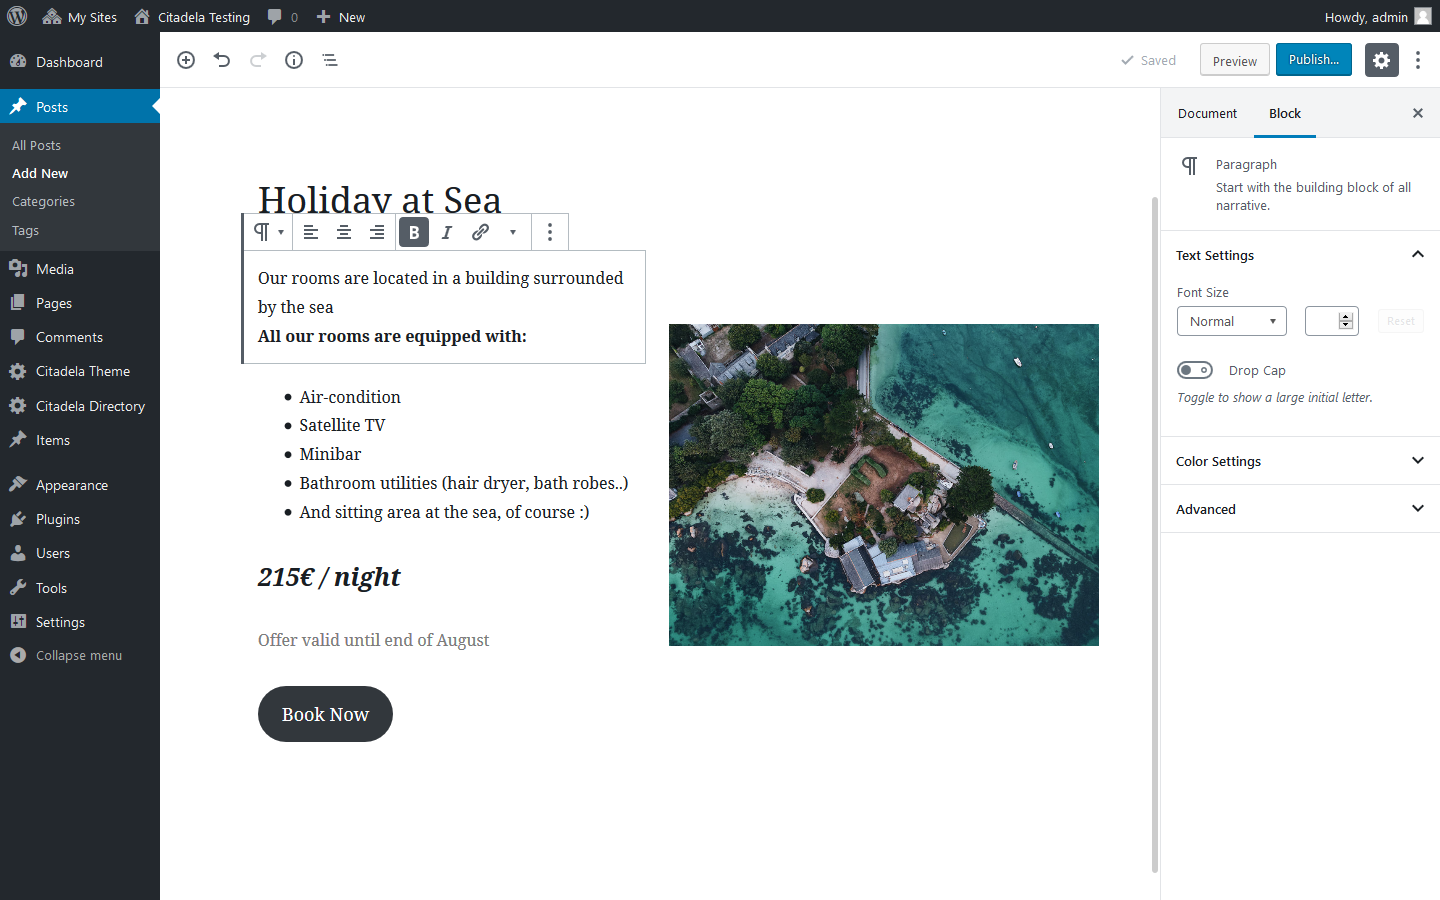
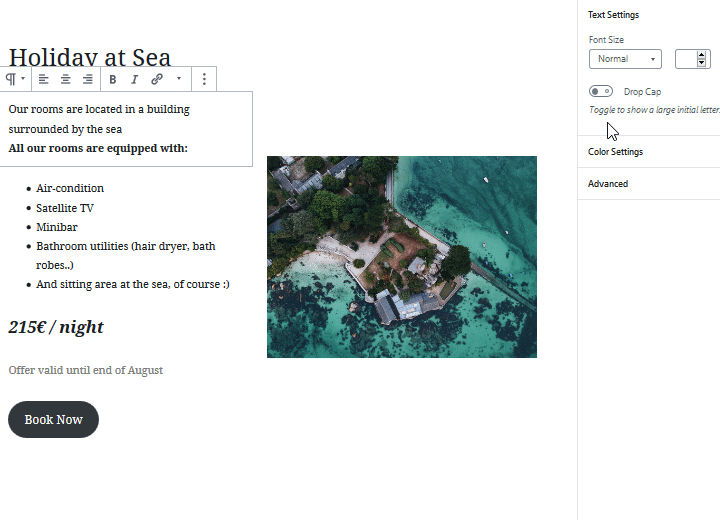
In sidebar on the right hand side you can choose font size, font color or paragraph color. Interesting feature is “Drop Cap” that will highlight first character of the text. It’s a nice feature in block posts to make text more interesting.
2. Heading
Heading is very similar to Paragraph. You can also configure it’s look, make bold or italic and insert URL link. Difference is that you can choose heading type – H2, H3, H4.

Other heading sizes and alignment settings are available in sidebar on the right hand side.
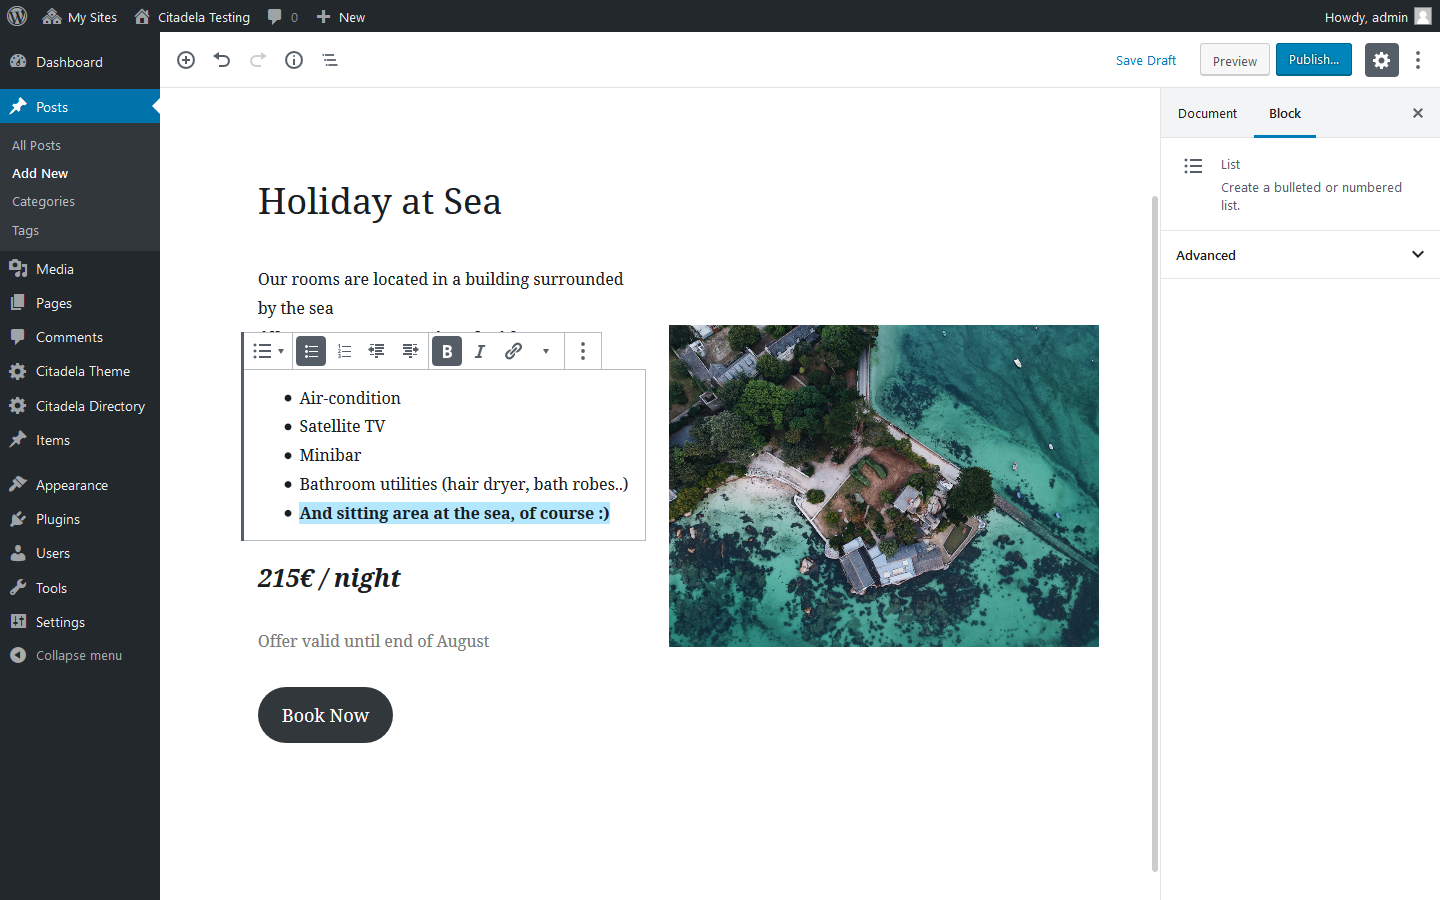
3. List
If you add List block to your content, it can be bullet points, numbered list or multi level list. You can also make text bold, italic and add URL link.
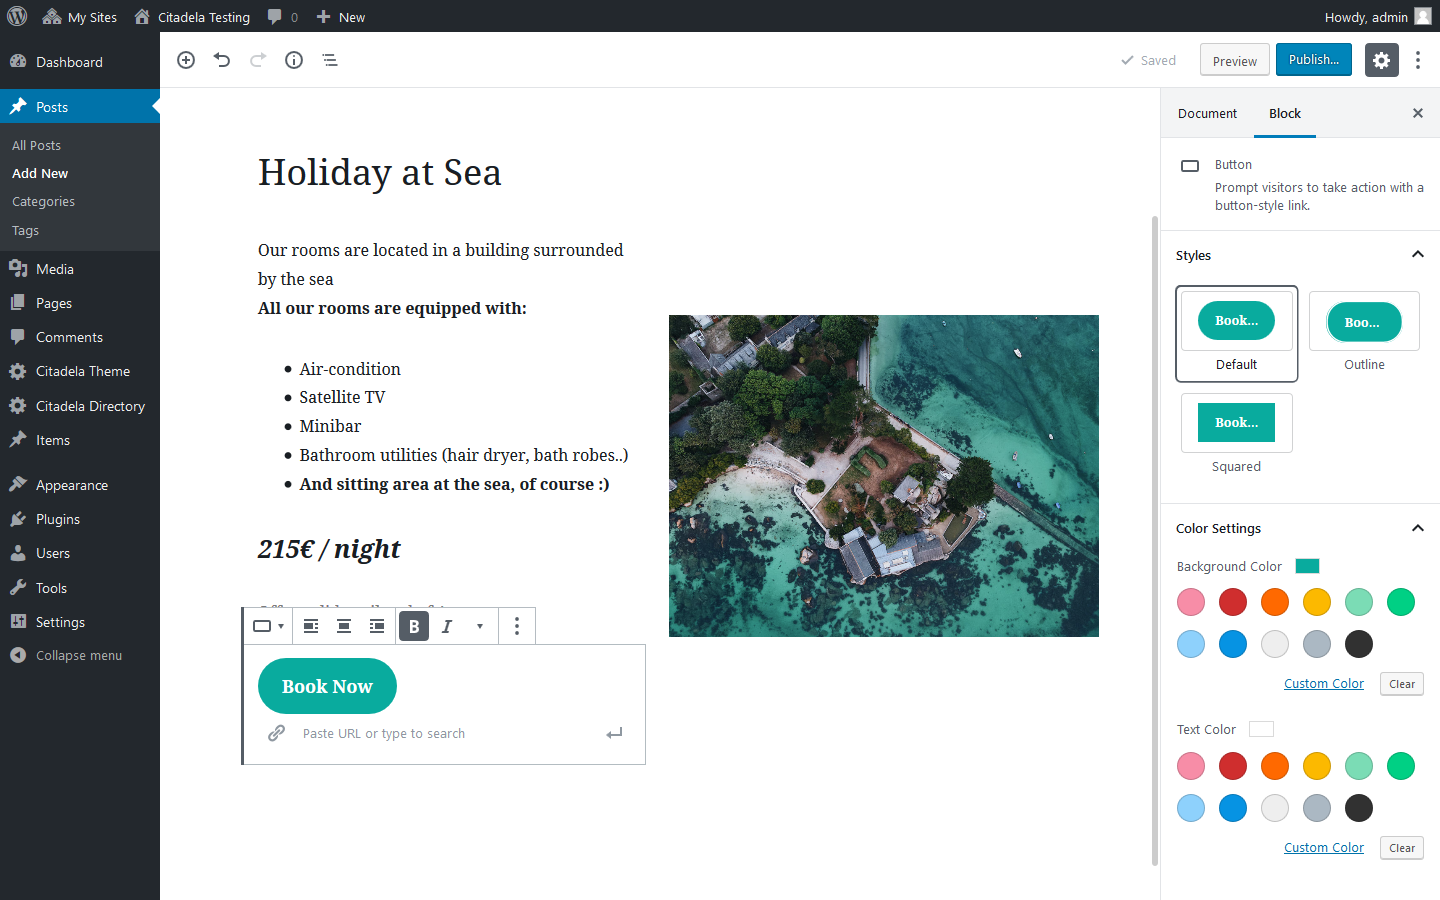
4. Button block
This block that adds button to content can be adjusted to website design. Button color and style or background color can be configured in sidebar on the right hand side.
Don’t forget to read article about Button block.
Switching between block types
In Media & Text block it is possible to convert one content block type to another. You can also change Media & Text block to Image block and text part will be deleted.
In text content it’s possible to change Paragraph block to Heading or List block.
Bonus: How to justify text in WordPress
Using justified text has its positives and negatives. Justified text can be usually found in books or newspapers but it’s not used on websites anymore. Why?
Several years ago was Justify function integrated right inside WordPress Classic editor. Justified text used to cause visibility problems in various browsers or mobile devices. It’s also related to difficult readability of justified text. This function was therefore deprecated and removed.
This particular functionality does not neither exist in the new block (Gutenberg) editor.
So how do you justify text if you really want?
Solution is to add simple CSS code in few steps:
- There is a setting for Additional CSS Class of Paragraph block in sidebar on the right hand side
- Write there class name „justify“
- Publish page or article
- If you Preview it, click on Customize in the main top bar
- On the left hand side there is a new sidebar with settings
- Click on Additional CSS
- Insert following CCS code:
p.justify {
    text-align: justify;
}
Done. From now on is text in your Media & Text Block justified.
WordPress has become more usable without third-party page builders, thanks to the Gutenberg editor. It has an excellent value for your website from a long-term point of view and when creating or redesigning a website. Gutenberg blocks give big range of style however you might find hand WordPress code for wrapping text around images.
What is your opinion on Media & Text block? Have you already use it? How do you like working with it? Let us know in the comments below.
Table of Contents
Generally I like the block system but unless I am missing something this is a step backwards. I am currently looking to simply float an image left or right and get text to wrap as really should be so easy to do but it seems WordPress just doesn’t want that to happen. Why not? Using the media and image block only works if the text is the right length. A page like this for instance doesn’t want to be redone with an odd spacing between the paragraphs if the text isn’t exactly the right length for the size of image.
http://www.thorntonincraven.co.uk/our-village/welcome-to-the-village/
Hello there,
thanks a lot for your feedback. It sounds as a very good idea, therefore i would like ask you to give us a minute of your time to answer 4 simple questions: https://aitthemes.typeform.com/to/vc7arn that can help our team make better products with unique features faster.
Thanks a lot for your time and understanding.
Kindest regards!
Zlatko
AIT team
Yes, I cant get text to wrap. This text block combinations appears to be useless.
This idea sucks as the only way to insert pictures into a blog – I can’t get the text to wrap nicely and it’s not the same size no matter what I do. Good idea for CERTAIN situations, but not for everything. Sometimes you just want a picture with the paragraphs wrapping around it, rather than saying something about the picture.
How to add wrapper and use content in full width yar seriously how to cover full with then take container in it.. builder is very confusing how add container wrap very bad editor yar
Hello there,
thanks for your compliments. Feel free to check out our blog page https://www.ait-themes.club/blog/ where you’ll find many useful tips how to write an attractive and useful posts.
Kindest regards!
Zlatko
AIT team
Hello Abdur,
Thank you so much for your feedback, it is much appreciated by our team!
Best regards.
Zlatko
AIT team
I am having the same difficulty as several other people on this thread. in the past, I was able to easily wrap text around an image like in our “about us” page where we have pics and bios. maybe I was using the old editor. I don’t remember. but, i am now trying to update our site with new pics and bios and couldn’t find a way to easily wrap text like on our previous bio/pic combinations. I tried to switch to classic editor, but the site warned me I had “new block editor” sections and I had to stay with the newer editing mode. can you tell me how to get our new biographies and pictures to look like our earlier posts? thank you.
Hey there,
If you desire to disable Gutenberg and continue with the classic WordPress editor, please consider a plugin by the WordPress core team which allows you to do it with “Classic Editor Plugin”.
Best regards!
Zlatko
AIT team
For those who want just a simple text wrapping around the image you can do this by inserting the Classic Text Block (based in the first part of the Blocks when you click on Browse. You get to use the classic editor in a single block and yes, that allows you to insert an image and then choose the wrapping option. Problem solved 🙂
THANKS London SEO Guy!!! A simple solution but I had overlooked it!
And then… simply use the Convert to Blocks option.
Since this works, the Block Editor has the capability but can’t find how to set it up properly. In the meantime this fudge works.
Same trouble here. This new version is horrible– no way to properly wrap text or even make the photo smaller, unless you just want to crop.
I’m able to wrap my text around a picture in WordPress block editor. It looks just the way I want it to look in “Preview.” However, when I publish my blog and WordPress emails it to my followers, they receive it with the picture on top and the text under the picture. This happens on desktop computers, too, not just on small cell phones. I want it wrapped, not stacked.
Hello there,
Thanks for writing in. The block won’t wrap the text around image in WordPress as you’d expect. Please have a look at the following instructions as you might find them helpful: https://motopress.com/blog/how-to-wrap-text-around-images-in-gutenberg/
Best regards!
Zlatko
AIT team
I do all that, and my blog wraps perfectly in Preview. When I publish it, it looks great on my blog page. But when WordPress emails it to my followers, and they open that email, they don’t see it wrapped. The photos are on top of the text. It is very unprofessional looking. I never had that problem with the old Classic Editor. Now that I’m using the Block Editor, it won’t let me go back to the Classic Editor even though there is a Classic option to click on.
Hello there,
Thanks for writing in.
We’d like kindly ask you to check our knowledge base and/or documentation with video tutorials:
https://www.ait-themes.club/ait-themes-documentation/
Or feel free to post technical questions directly in our dedicated support ticket system. Please login into your account at https://system.ait-themes.club/support/add-question.
Customer Support is provided during working days from 8am to 5pm Central European Time.
In addition, there a plugin that let you use previous editor. You should install and activate “Classic editor”.
Sincerely!
Zlatko
AIT team
I disagree these this is superior to classic editing, because the options are more limited. I find that this block, because it uses different fonts and is wider than a text block, is visually jarring. Being able to wrap text smoothly around an image while maintaining the same font and size and margin settings brings the professionalism of a magazine page. This is just one example of why I am profoundly disappointed with this version of wordpress.
Hi Terence
thank you for your opinion. Have you tried our Citadela trial version? We have some unique blocks that might help you with adjusting text and images. Anyway, you can test full version – all features, for free.
Have a nice day.